Lighting Garden Railraod Structures with Inexpensive Solar Lights
When I originally constructed my garden railroad several years ago, I meticulously planned where every building was going to be located and then made sure I ran low voltage landscaping lighting cable to all of those locations. I lit my structures using low voltage landscape lights. As with most garden railroads, over the years my railroad has changed. The railway routes have changed as have the locations of buildings. Unfortunately, not all of the new locations were near the previously run landscape lighting cable. I had to come up with another way to easily light my structures.
One day, while shopping at a big box discount retail store in their garden section, I noticed some very inexpensive solar garden lights. I picked up one and examined it closely. It had a solar panel on top and a rechargeable battery in the top part of the light. I had an idea. I bet myself that with a little cutting and trimming and gluing I could use these types of lights light my structures.
I purchased one light with which to try it out. Once home I got out my tools and went to work. Within 30 minutes I had the project completed and was quite happy with it. In this tutorial, I will explain the steps I took to complete it.
Purchase the Solar Landscape Lights
I purchased inexpensive (about $3.00 -$4.00 each) solar landscape lights from a big box discount retail store. Do NOT spend a lot of money on these. If you can’t find them in a brick/mortar physical location, search online. You want the type of light where the solar panel is attached to the lid of the light.
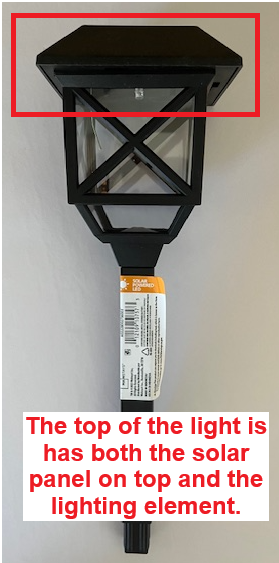
Take Apart the Light
The lights that I purchased Have Three pieces to them: the top (with the solar panel and light), the body and the stake. These three pieces come apart easily with no tools. We are only using the top.
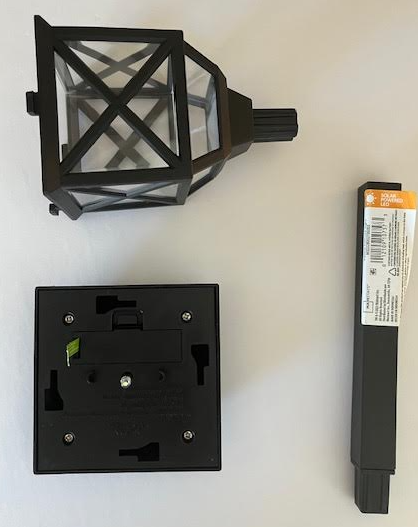
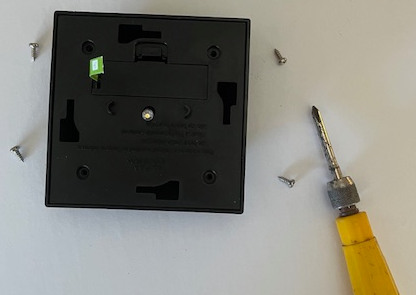
Remove the Screws from the Top Piece
The top piece has four screws. Remove them. You will not need them for the project. Separate the two pieces that compose the top piece. They will be connected by wires. Carefully cut the two wires halfway between the solar panel and the lighting/battery unit. Using wire strippers, strip the ends of the wires.
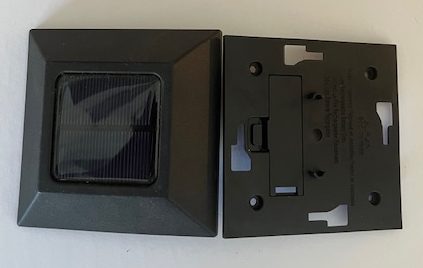
Remove the Solar Panel and Add Some Extra Lengths of Wire
Using a rotary cutting tool, very carefully cut around the solar panel to remove it from the lid.


Keep the solar panel piece and discard the part that you cut it out of. Carefully trim and file the solar panel piece so that the edges and back are smooth. The back should be mostly flat with two wires attached to it. The wires might be secured in place with a small amount of putty. If so, carefully remove as much putty as possible. The goal is to make the back of the solar panel lay as flat as possible. This piece will be seen on the roof of your structure.
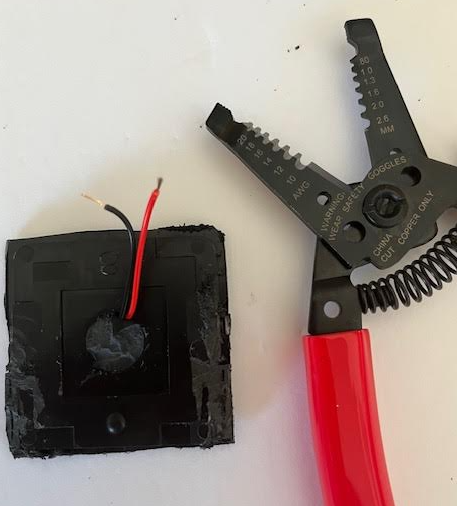
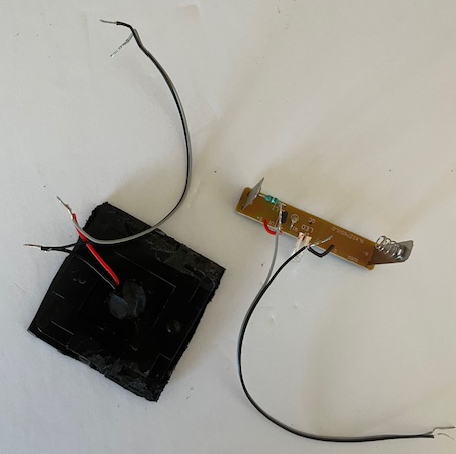
Next, cut two lengths of double conductor wire at about 4 inches for each length. Strip the ends of each of the wires. Attach one of the pairs of wires to the wires of the solar panel and the other pair to the wires of the lighting/battery unit. The goal is to lengthen the amount of each set of wires. Cover the connections with electrical tape.
Drill a Hole in the Roof of your Building and Attach the Solar Panel
Examine the roof of the building that you are going to light. Determine where you want to place the solar panel. On my buildings, I take two factors into consideration: (1) where will it get the most light, and (2) where will it be least noticeable. Once you determine where you are going to place the solar panel, drill a small hole in the roof centered directly under where you plan to place the panel. Make sure the hole is large enough for you to pass through the two wires on the back of the solar panel.
Next, make sure that your solar panel is going to lay as flat as possible on the roof. If you need to make minor adjustments and smoothing to the back of the solar panel so that it lies flat, do so now.
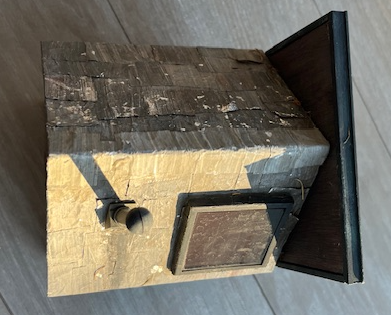
Using silicone adhesive, generously coat the back of the solar panel with the adhesive. Thread the two wires of the panel through the hole in the roof and press the panel down over it. If adhesive oozes from the sides of the panel, very carefully remove it. Do not smear it on the roof. Next, put some adhesive on a Q-tip and ‘seal’ the four edges of the panel to the roof. The goal is to seal it from water getting under the panel and in the hole of the roof.
Attach the Lighting/Battery Unit Under the Roof
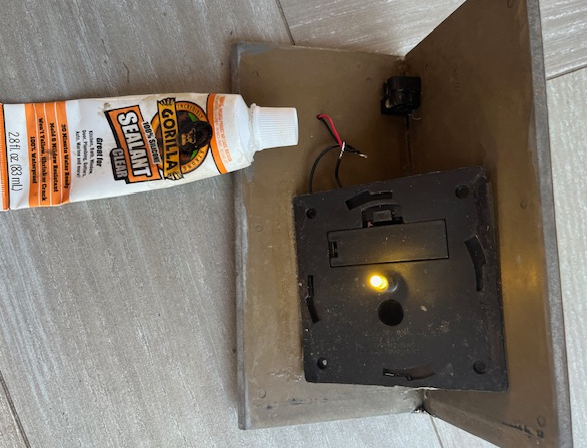
Using silicone adhesive, attach the lighting/battery unit on the underside of the roof close to where the wires are from the solar panel. When the silicone adhesive has dried, connect the wires from the solar panel to the wires from the lighting/battery unit and secure with small wire nuts or electrical tape.
When the sun sets and the building lights up, make sure you can’t see any of the wires when you look through the doors and windows of the building. If you do, use a small amount of tape to tape them to the underside of the roof and out of sight.
Tools and Materials Required:
Screwdriver, Rotary Cutting Tool, Drill, Small File, Wire Cutter/Stripper, Two-Conductor Parallel Wire (22- or 24-guage), Electrical Tape, Small Wire Nuts, Silicone Adhesive.
