Protecting the Bottoms of Trestle Bents
We have a few trestles located on our Silverton Northern Railroad and they tend to be located in wet or sometimes-wet locations. I make my own trestle bents from redwood fencing material. I use a table saw to cut the pieces in ¼” square strips. I use a jig to build the bents. I knew I had to find a way to protect the stability of the trestle bents from water. I did not want to have to cast concrete footings for each bent since there were a great many of them. An idea came to me one day when I was browsing the aisles of Home Depot, specifically in the plumbing section. I saw ¼” copper piping and thought, ‘this just might do the trick.”
Below I describe how I created copper ‘bents’ that slide over the bottom wood bents and are secured. I can attest that these have held up for over 12 years to date including one that sits directly in water.
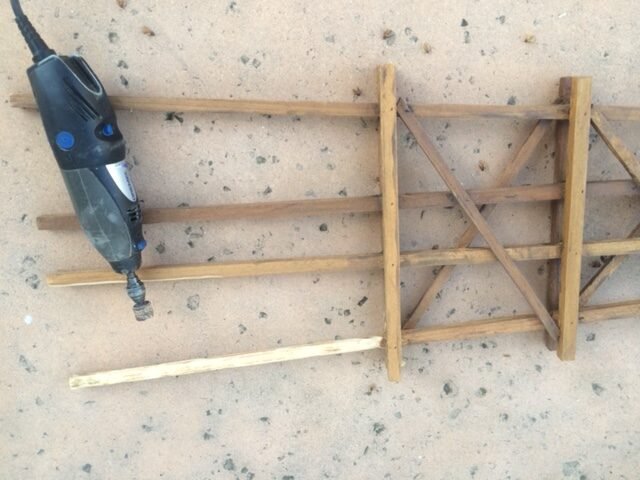
Step 1: Sanding the bottom of the trestle bent
Using a motor tool with sanding bit I sand down the bottom of the bents so that the copper tubing can snugly slide over them. As I sand I keep test-fitting with a small piece of the copper pipe. I want the pipe to be snug.
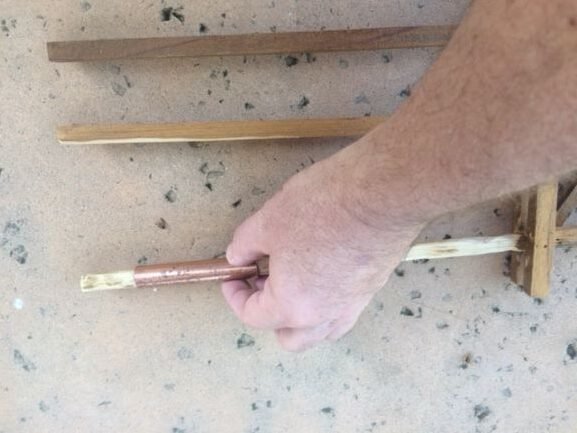
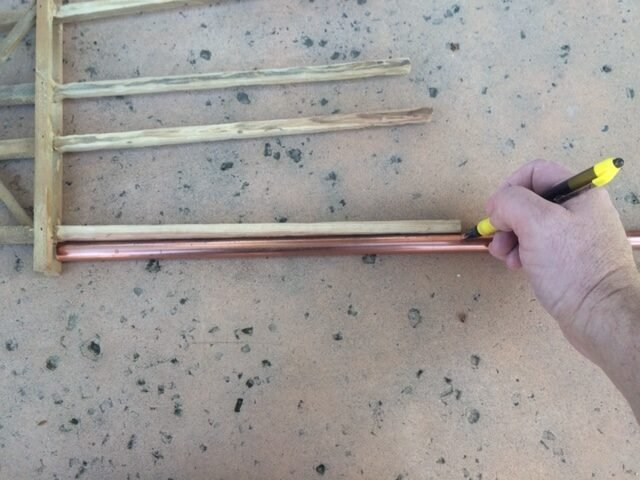
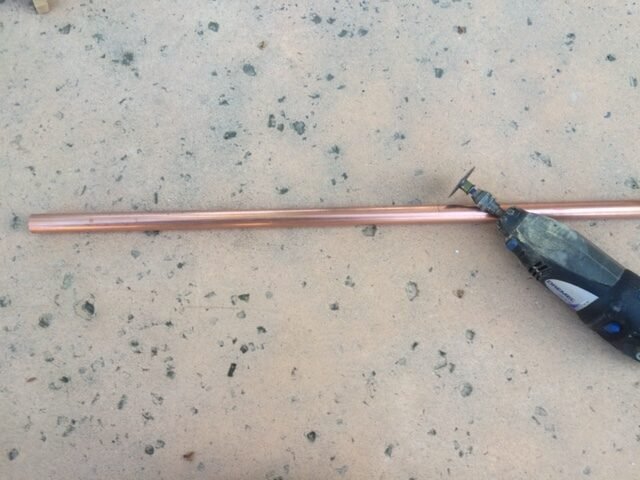
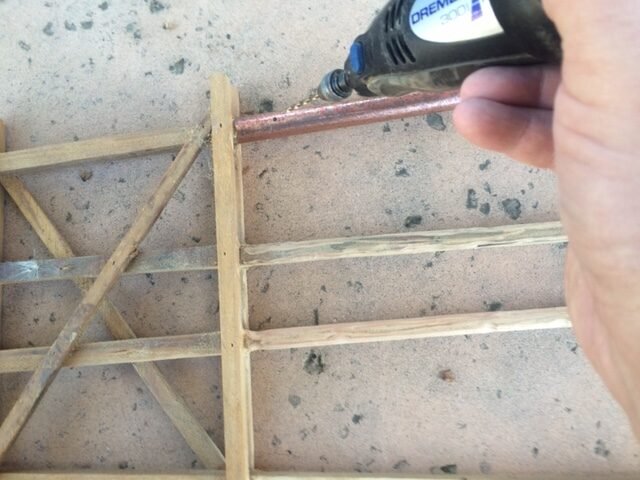
Step 2: Measure the copper pipe to fit the bottom of the bent
I slide a piece of copper pipe over the bent up to the sill and mark where I need to cut it. I cut it with a motor tool fitted with a metal cutting wheel. I test fit it on the bent and make adjustments as needed. (Helpful hint: If you happened to cut your bent too short you can cut the length of the copper piping longer to make up the difference.)
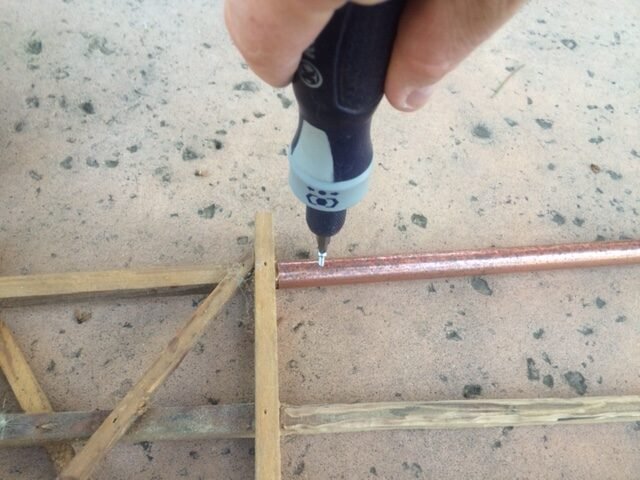
Step 3: Drill a hole in the copper pipe to secure it on the bent
Using my motor tool with a drill bit that can drill through metal, I drill a small hole through the copper pipe. I then secure the pipe on the bent with a screw. On some bents I use two screws.
Step 4: Placing the trestle bents
For areas that have dirt underneath, I bury the bottom of the bent down a few inches and then secure it with gravel and rock (and dirt as needed).
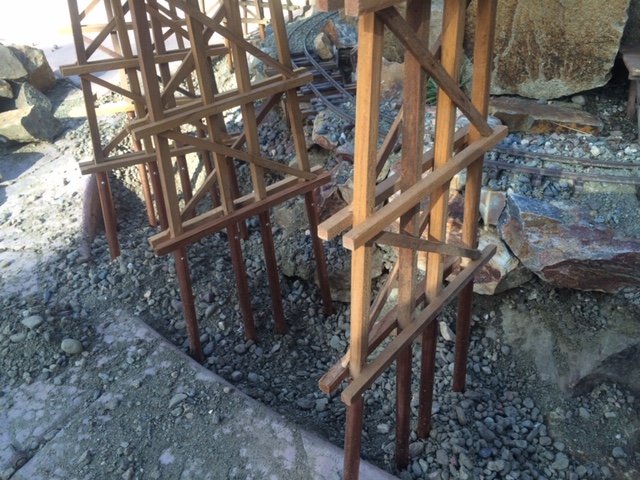
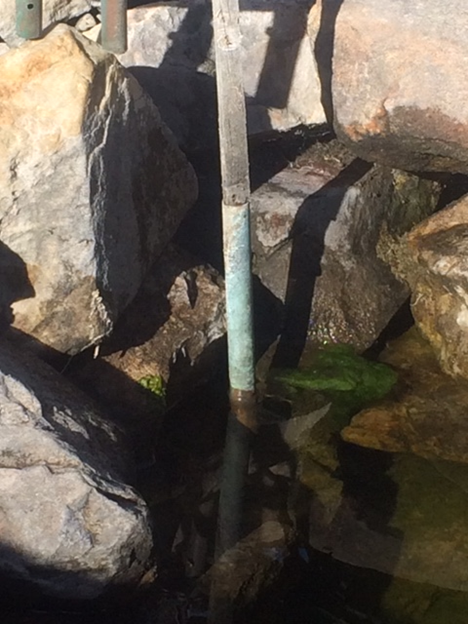
Final Note: Still stable after 12 years in water
My oldest trestle bent with copper piping sits directly in water and is still sturdy after 12 years. After time a nice patina appears on them.